
Setting up jeCheck on your first day
On your first day you only need to do five things: fill in your company details, add locations, add employees, prepare a checklist and schedule audits. Everything is done in the web dashboard as an administrator.
Step 1. Company details
Open Management → Settings. Check your company name and country, fill in the company details and contact person if needed, upload your logo and choose the report language.
For details, see /docs/account/company-settings.
Step 2. Locations
A location is what you audit: a restaurant, store, club or warehouse. Open Management → Locations — this is the Locations and teams tab in the Automation section.
-
Click "Add location". Enter a name and, optionally, an address and a location email for reports, then click Add.

The New location form -
Rename the demo location. A new company already has Демо локация ("Demo location"), and you (the company creator) are already assigned to it — rename it to a real location or delete it.
For details, see /docs/team/locations.
Step 3. Employees and positions
-
Create positions. Under Management → Users, on the Positions tab, add roles such as "Manager", "Chef" or "Barista".
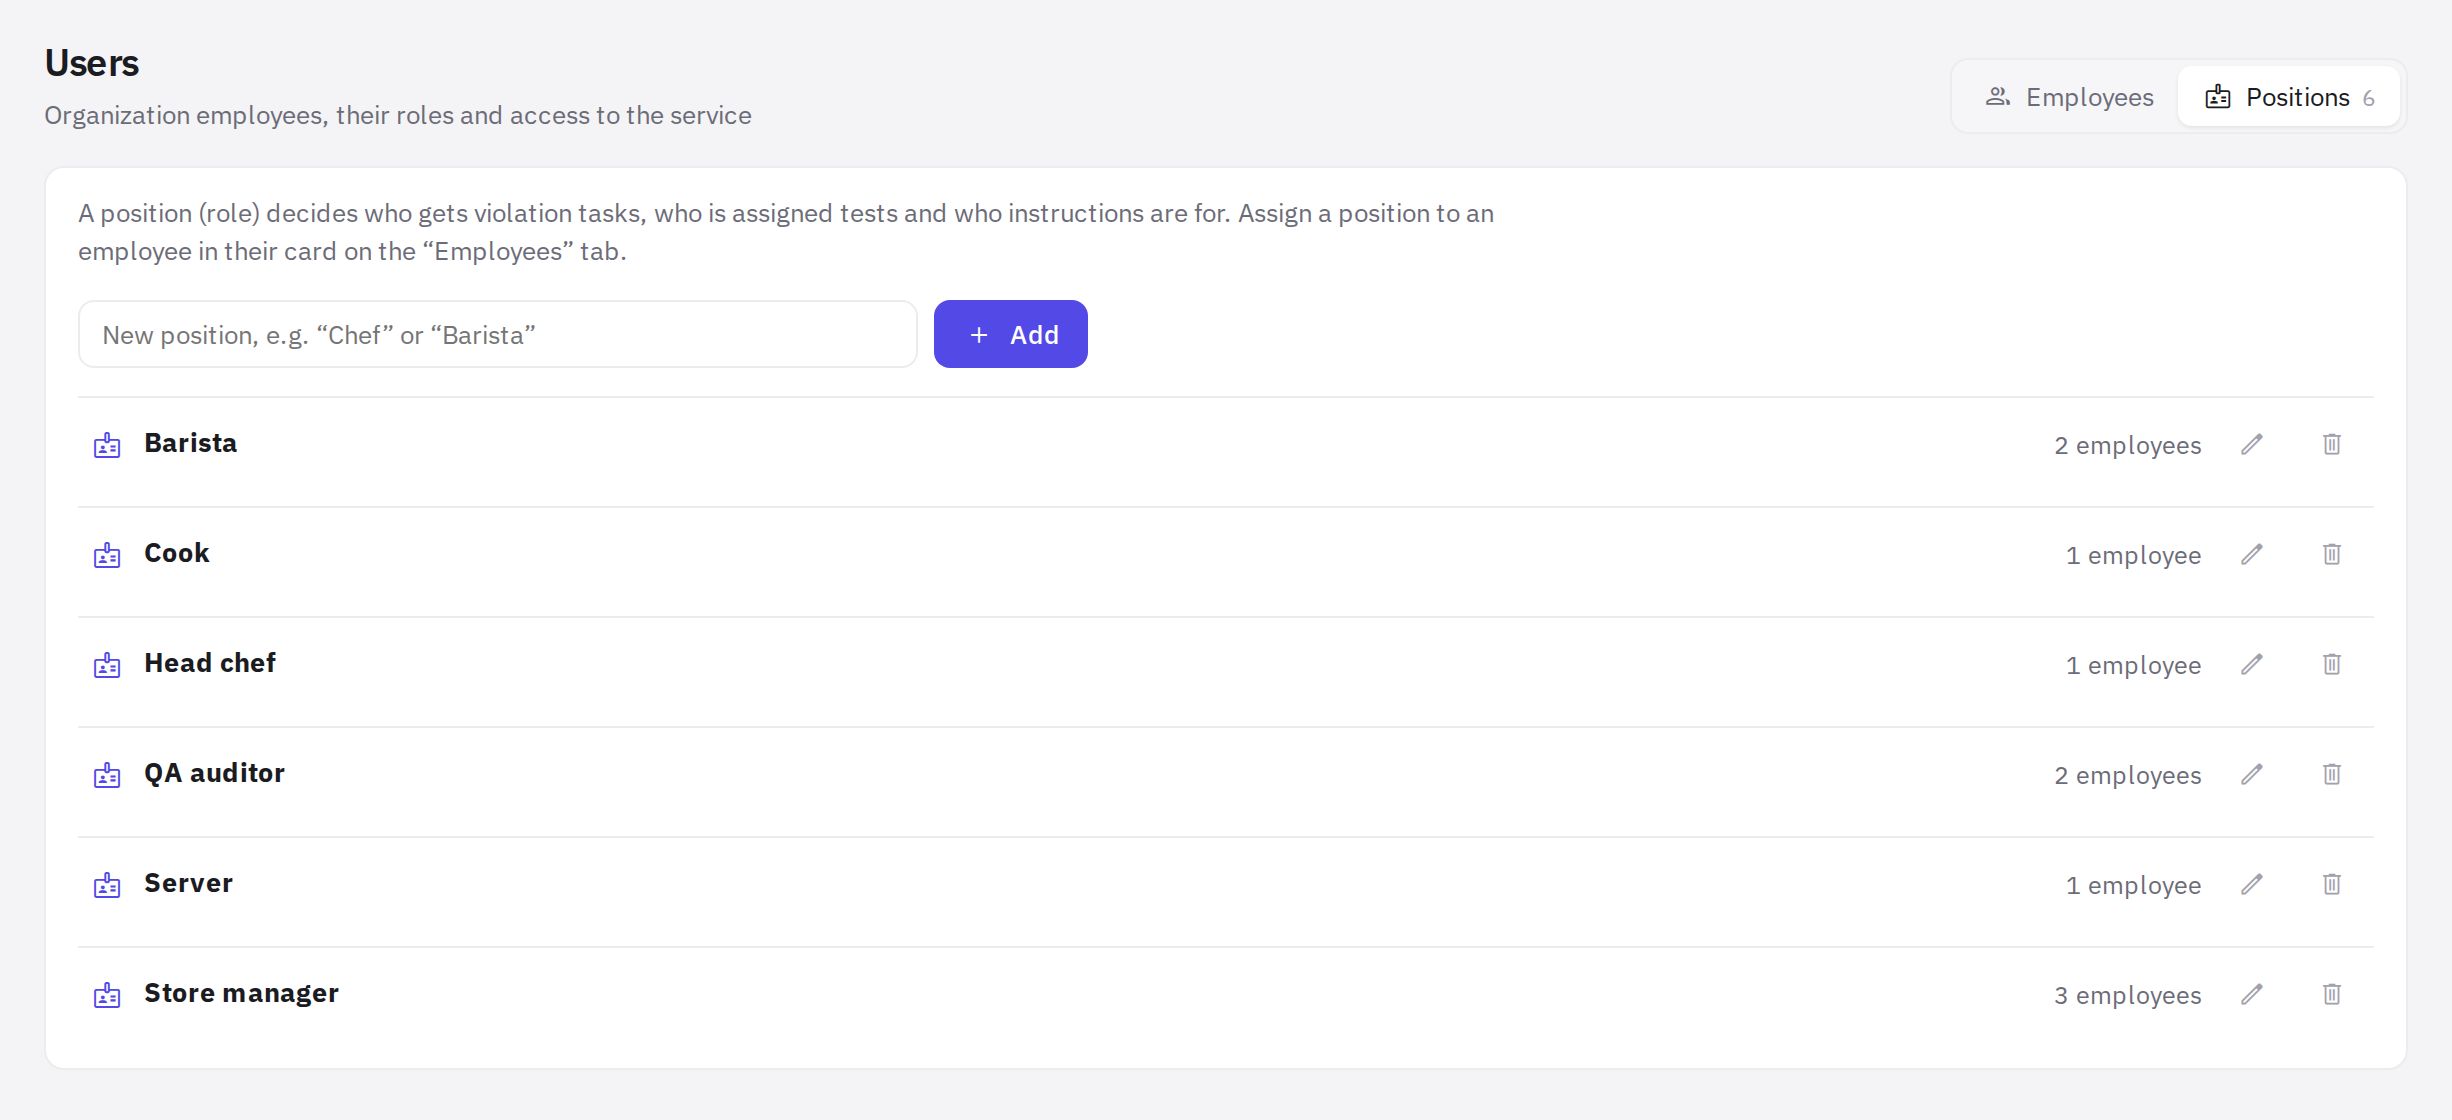
The positions list -
Add employees. On the Employees tab, click Create user and enter the last name, first name, email, type and position. The employee receives an invitation by email.
-
Assign people to locations. On the Locations and teams tab, add employees to each location and mark the manager.
For details, see /docs/team/invite-users and /docs/team/roles-and-positions.
For employees who work only from their phone (baristas, cooks, sales staff), you can close web dashboard access — the Web dashboard access checkbox on their card. See /docs/team/web-access.
Step 4. Checklist
Open Work → Checklists. Edit the demo checklist Чек-лист готовности сервиса ("Service readiness checklist") or click Create checklist and build your own: sections, questions and the scoring method (in percent or in points). In the checklist settings you can choose who can use it.
For details, see /docs/checklists.
Step 5. Audit plan
Open Work → Planner and click Schedule audit: select locations, a checklist, an auditor, a date and a repeat setting — a one-off audit or a recurring one on a schedule.
For details, see /docs/planner.
What's next
- Conduct your first audit in the jeCheck mobile app — see /docs/mobile/conduct-audit.
- Review the results in Analytics → Audit log and Analytics → Overview — see /docs/analytics.
- Set up violation tasks. To have violations automatically become tasks for the right people, turn on a scenario in Work → Automation — see /docs/automation. Without a scenario, you can create tasks manually in Work → Tasks (/docs/tasks).
At the top of the Automation section there is a Setup: N of 5 hint — based on your company's data, it shows which steps for automatic tasks are still missing.
Frequently asked questions
Do I have to fill in company details on the first day?
No. To work with audits you only need the company name and country — both were entered during registration. You can fill in the company details later.
Can I start without positions?
Yes, audits and manual tasks work without them. Positions are needed so that violation tasks, tests and instructions automatically reach the right people.
Thank you! This helps us improve the help center.