Restaurant Audit: What to Check and How to Run It
A restaurant audit is a planned inspection of a location against a checklist: the auditor walks through the kitchen, dining room, bar, storage and restrooms, looks at how the team works and at the paperwork, records issues with photos and gets a score for the location. A good audit doesn't end with a report — it ends with a list of tasks with owners and deadlines, and a follow-up check. Below: what to check in each area, how often, who should audit, how to score and what to do afterwards.
If you're just getting started with checklists, first read why restaurants need checklists and audits. A short list of self-check questions is in the restaurant inspection checklist. This article is about building the audit into a quality control system.
Types of restaurant checks
No single check covers everything. A restaurant usually runs several levels of control, each with its own job:
| Type of check | Who does it | How often | What it shows |
|---|---|---|---|
| Opening and closing checklists | shift manager, staff | every shift | basic order for today |
| Focused check (kitchen, bar, food safety) | head chef, bar manager, food safety lead | weekly or monthly | depth in one area |
| Operational audit | operations manager, area manager, owner | every 2–4 weeks per location | whether the location is actually managed well |
| Mystery guest | an outsider | 1–2 times a month | service through a guest's eyes |
| External inspections | authorities, franchisor | on their schedule | compliance with requirements |
Daily checklists answer "is it clean today?". An operational audit answers a different question: why is it clean or dirty, are recipe cards followed, do stock levels match, are tasks from the last visit closed. That's what the rest of this article is about.
What to check: restaurant audit areas
Kitchen
- Dishes at the pass match the recipe card and photo standard; ticket times are within target.
- Recipe cards are current and available at each station.
- Fridges contain no unlabelled or expired products; raw and ready-to-eat foods are stored separately.
- Refrigeration temperatures are in range — both on the thermometer and in the log.
- Temperature and food quality logs are complete, with no gaps and no back-filling.
- Equipment works; repair requests aren't overdue.
- Cooks wear clean uniforms, hair is covered, no jewellery on hands.
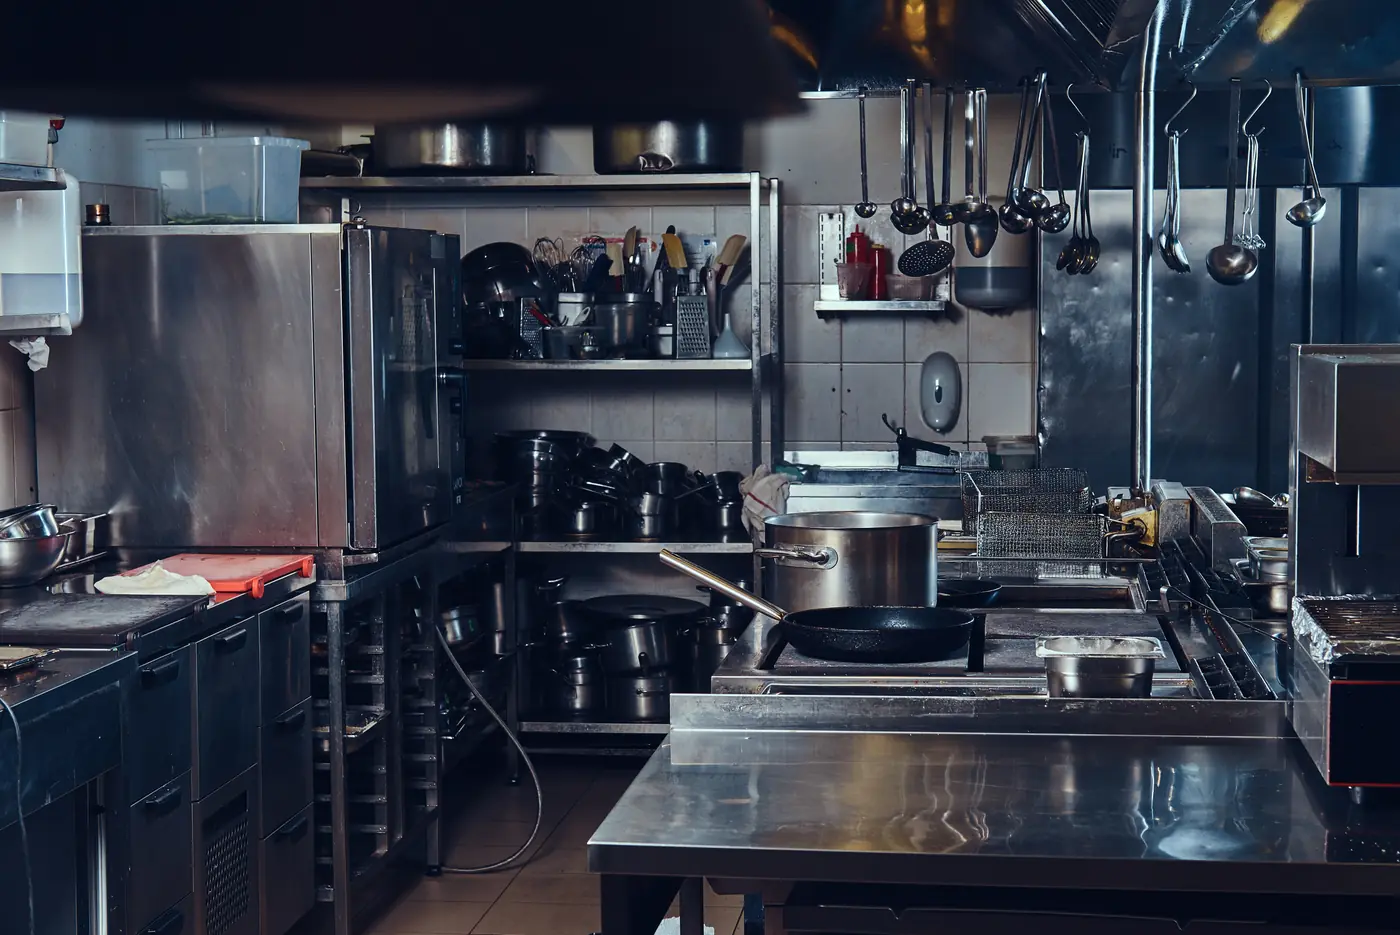
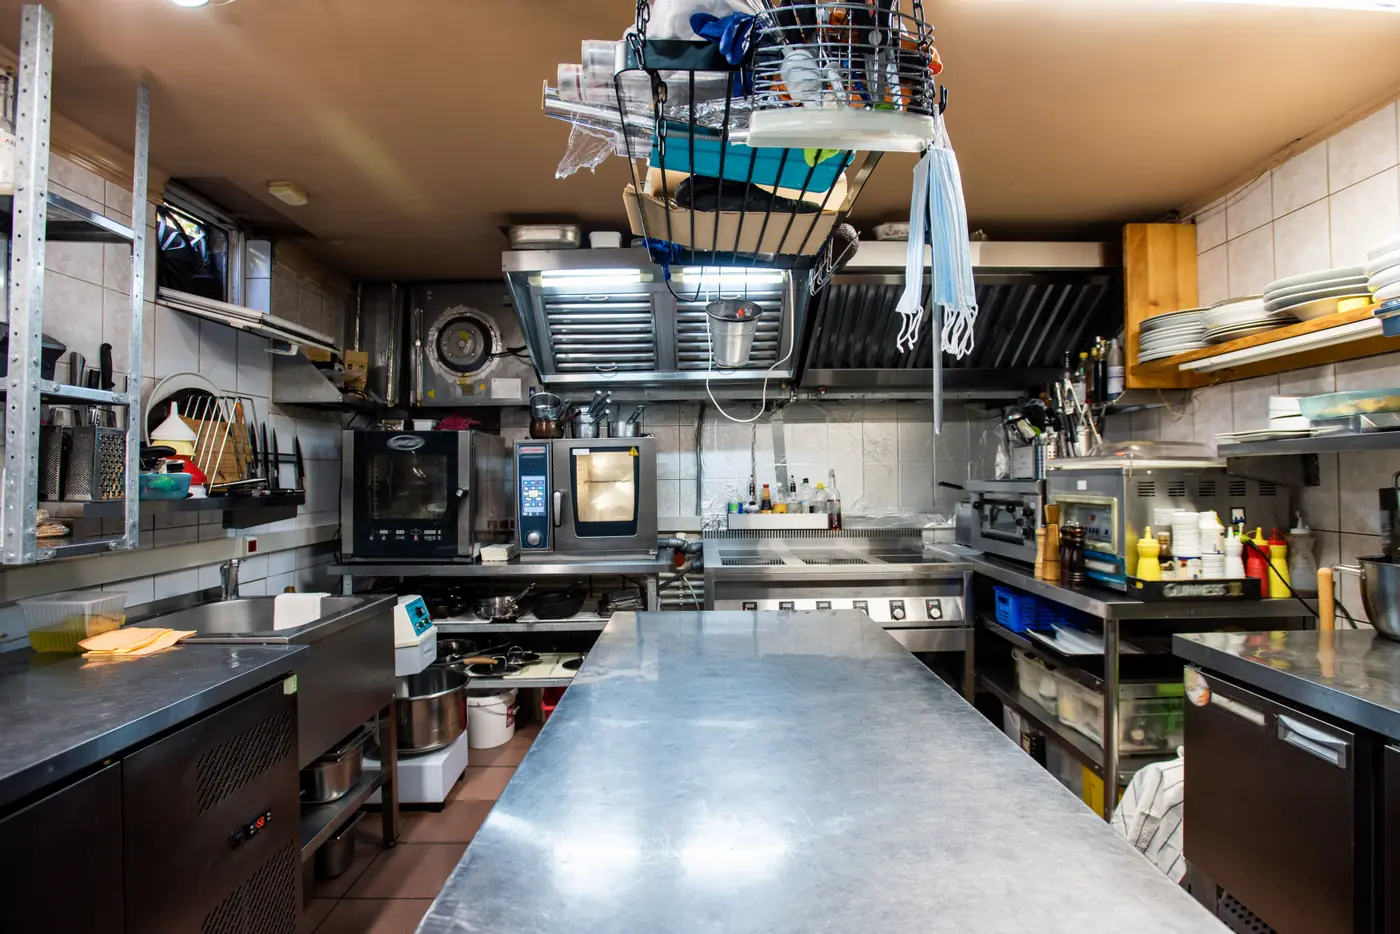
Look at the kitchen during service: in an empty kitchen you can't see where cooks get in each other's way or where plates wait at the pass. A detailed review of stations and flow is in the restaurant kitchen inspection template.
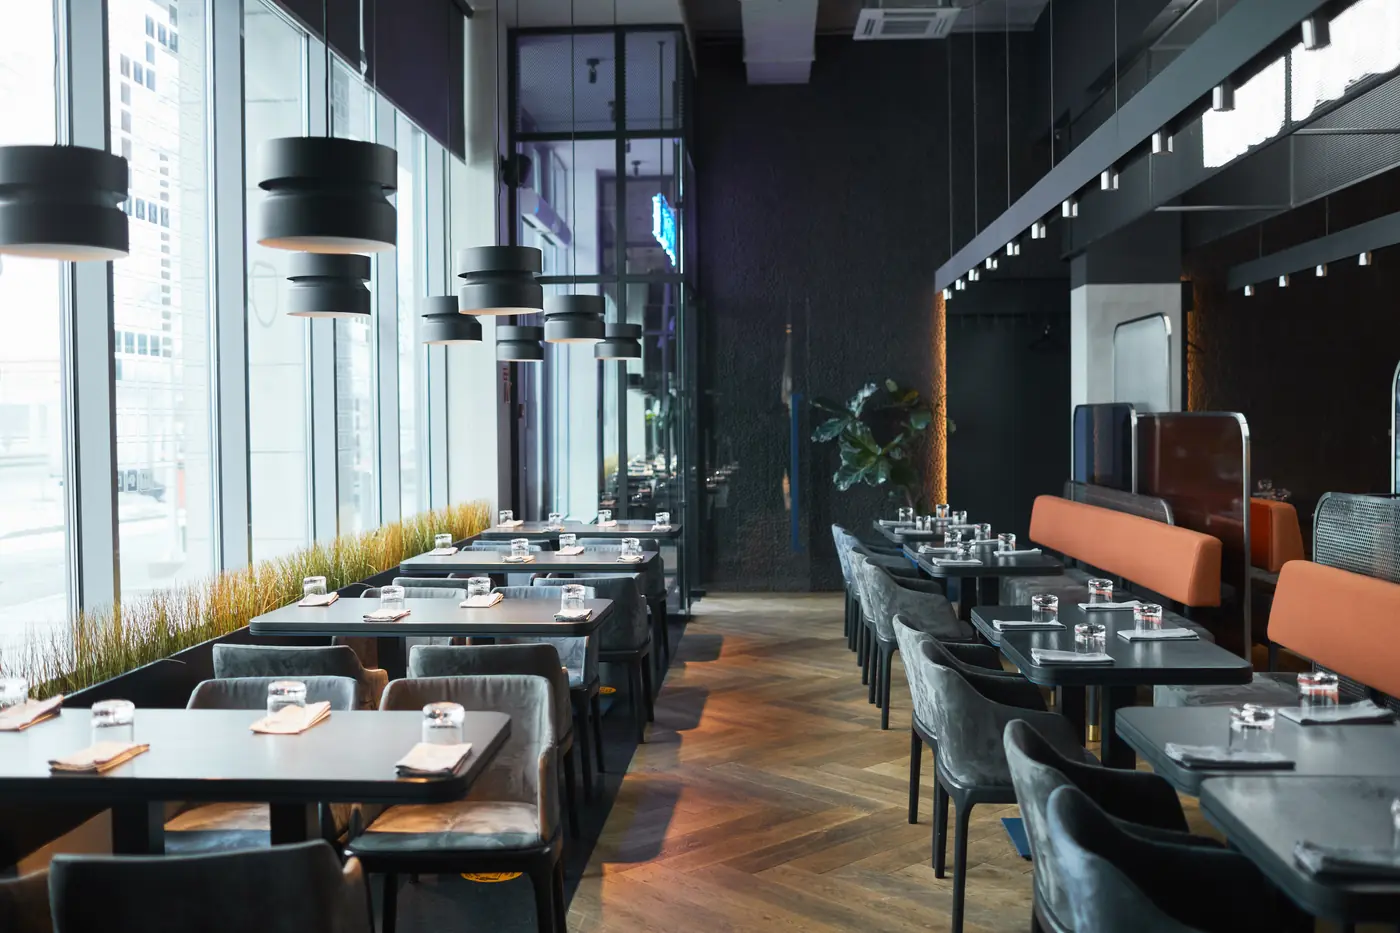
Dining room
- Guests are greeted at the door quickly — within your brand standard.
- The server comes to the table with the menu on time, recommends specials and suggests add-ons.
- Dirty dishes are cleared without being asked; free tables are reset right away.
- The shift manager is on the floor during peak hours.
- The bill arrives within standard after it's requested.
- Music, lighting, temperature and smell are comfortable.
Bar
The bar is the most profitable and most vulnerable area. Check pours against recipes and the use of jiggers, a spot stock count of spirits, voids and unrecorded comps, the ice machine, labelled prep, no broken glass and the rules on serving alcohol. Ready-made checklist: bar audit.
Storage
- Products are on shelves, not on the floor; first in, first out is followed.
- A spot count of 5 items matches the stock system.
- The last inventory result is within the acceptable variance.
- Write-offs are documented with a reason and signatures.
Restrooms
Guest restrooms shape the impression; staff restrooms are part of staff hygiene. Check cleanliness, plumbing, soap, paper and hand-drying supplies, and whether the cleaning log is filled in and matches the actual state.
Staff
- The actual shift matches the approved schedule; key positions are covered.
- Appearance and uniforms meet the standard.
- Staff health documents are valid where your country requires them.
- New hires have completed onboarding training.
- The team knows current promotions, new items and what's off the menu today.
Paperwork, cash and safety
- Required logs and documents are in place and complete. The exact list depends on your country and format — check your local food safety regulations and your HACCP plan.
- A surprise cash count matches the system report; voids after the pre-bill are approved by a manager; discounts and comps follow the rules.
- Emergency exits are clear, fire extinguishers are in place and inspected, the first-aid kit is complete.
All these sections are in the restaurant operations audit template: first impression, service, kitchen, storage and food cost, staff, cash, safety and location management.
How often to audit
Useful starting points:
- daily checklists — every shift, completed by the location itself;
- operational audit — once or twice a month per location;
- new location or new manager — weekly during the first month;
- after a low score — a follow-up check on the failed items within 1–2 weeks;
- mystery guest — one or two visits a month on different days and times.
Regularity and unpredictability matter more than frequency. An audit that always happens on the first Monday of the month turns into a deep clean the day before.
Who should audit
Locations complete daily checklists themselves. An operational audit should be done by someone from outside: an operations or area manager, a quality specialist, the owner. A manager auditing their own location will inevitably miss what they've got used to.
If you have several auditors, calibrate them: have two people audit the same location with the same checklist and compare answers. Differences reveal questions people read differently — rewrite those. Rotating auditors between locations also helps.
How to run the audit: order of the visit
- Prepare. Open the last audit results and the list of open tasks.
- Dining room at peak time. Watch service as a guest for 20–30 minutes before the team knows you're there.
- Kitchen on the move. The pass, stations, fridges — without stopping work.
- After the peak. Storage, bar, restrooms, paperwork and cash — together with the manager.
- Debrief. 3–5 key findings, owners and deadlines. Flag items still open from last time.
Record facts, not impressions: photos, numbers, times. "The kitchen is dirty" won't help the manager; a photo of the fryer with the date of the last oil change will.
Scores and weights: how to calculate the result
A total score lets you compare locations and track progress. Simply counting "Yes" answers distorts the picture: a crooked poster and expired meat in the fridge cost the same. So every question needs a weight:
- weight 1 — small things a guest may not notice;
- weight 2 — a standard that affects the impression or revenue;
- weight 3 — safety of guests and staff, food, money.
Score = sum of weights of "Yes" answers / sum of weights of all applicable questions × 100%. Questions that don't apply to the location are left out.
Example: a checklist has 20 questions — 5 with weight 3, 10 with weight 2 and 5 with weight 1, 40 points in total.
| What failed | Without weights | With weights | |
|---|---|---|---|
| Location A | 3 minor items (weight 1) | 17 of 20 = 85% | 37 of 40 = 92.5% |
| Location B | 1 critical (weight 3) and 1 standard (weight 2) | 18 of 20 = 90% | 35 of 40 = 87.5% |
Without weights Location B looks better, even though it has a safety problem. With weights the picture is honest.
You can add a rule for critical items: for example, failing any weight-3 question puts the audit in the "red zone" regardless of the score. And agree on thresholds — say, 90% and above is green, 75–89% yellow, below 75% red. Set the numbers for your own business; what matters is that they're the same for every location.
What to do after the audit
An audit is only as valuable as the issues it gets fixed.
- Report the same day. The manager should get the results while the details are fresh.
- Every issue becomes a task. With an owner, a deadline and a photo of the problem. Minor items can be grouped into one task.
- Accept on evidence. The assignee attaches an "after" photo; the auditor accepts the work or sends it back.
- Follow-up check. Re-check the failed items or cover them at the next audit. Mark issues that come back as repeat issues — that signals a systemic problem, not a one-off.
- Conclusions across locations. Compare locations and find the questions failed most often. If the same issue appears at half your locations, the problem is the standard or the training, not a particular manager.
Common mistakes
- Auditing only before management visits — the location gets ready and you see a showcase.
- A checklist that's too long, with vague questions like "The kitchen is in good condition".
- A report without tasks: issues are described, but no one is responsible for fixing them.
- The same weight for every question.
- A manager auditing and scoring their own location.
Restaurant audits in jeCheck
In jeCheck the auditor goes through the checklist in the mobile app, attaches photos to items and sees the score before leaving the location. An issue becomes a task in one tap, and the whole business is visible in analytics.
- Mobile audits: offline mode, photos, geolocation, time and the auditor's signature, scoring as you go.
- Points and weights for each question, mandatory photos for critical items — in the checklist builder.
- Tasks: assignee, deadline, "after" photo, and accepting the work or sending it back.
- Analytics: location ranking, trends, most frequent issues and drill-down from the whole network to a single photo.
Start with the restaurant operations audit template and adapt it to your standards.